The console known as Local User and Group Management (lusrmgr.msc) is utilized for managing local users and groups on a Windows computer. This console is universally available across all versions of Windows, ranging from Windows 2000 to the current Windows 11. Its primary purpose is to assign privileges to different users and groups, including the administrator, power user, standard user, and guest roles. To access the local users and group management console, simply execute the lusrmgr.msc command.
However, it is worth noting that this command is not functional in Windows 11/10 Home Edition. Instead, attempting to run the lusrmgr.msc command in these versions will trigger the message: “This snap-in may not be used with this edition of Windows 11/10. To manage user accounts for this computer, use the User Accounts tool in the Control Panel.”
Fortunately, this article will provide instructions on how to activate lusrmgr in Windows 11/10 Home edition and efficiently manage users.
How To Enable Local User and Group Management (Lusrmgr.msc) Console in Windows 11/10 Home Edition?
If you are using Windows 11/10 Home, it is not feasible to use the pre-installed local user and group management console tool without the aid of a third-party tool. However, a suitable substitute can be found with comparable features to the original tool. Follow these instructions to activate and operate the Local User and Group Management (Lusrmgr.msc) Console in Windows 11/10 Home:-
Step 1. Download the lusrmgr executable file from Github.
Step 2. Run the downloaded file on your Windows 11/10 Home.
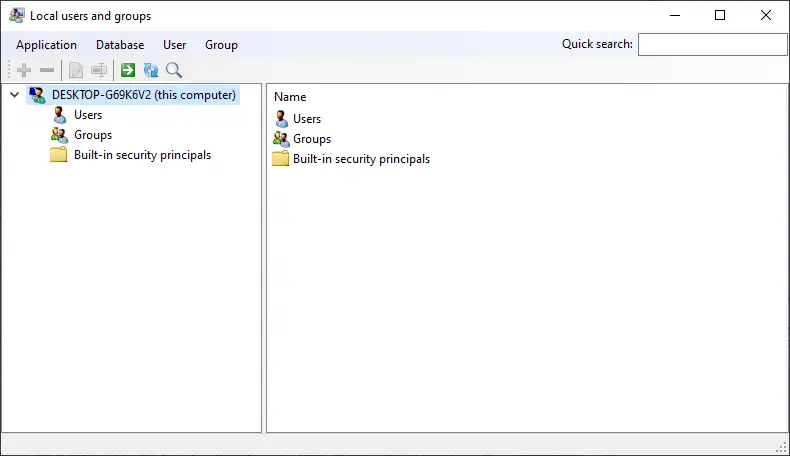
Step 3. It will get the following screen, which is very similar to the built-in lusrmgr tool:-
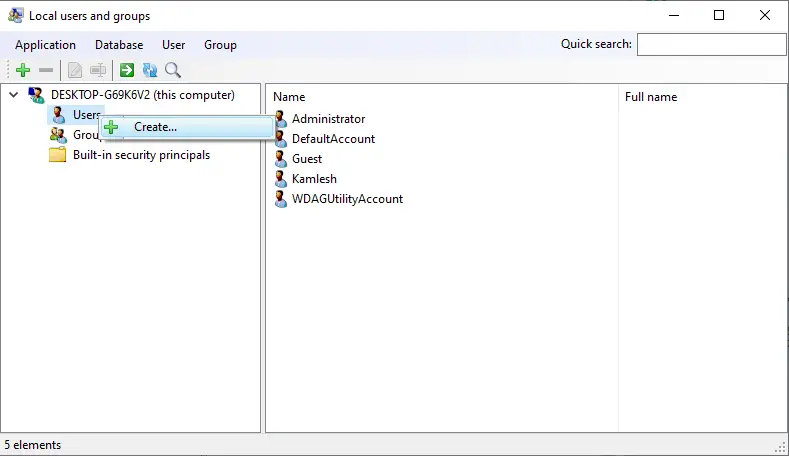
Step 4. Under the Local Users and Groups console, you can create and manage users and groups. To create a user, right-click on the Users and select Create in the menu.
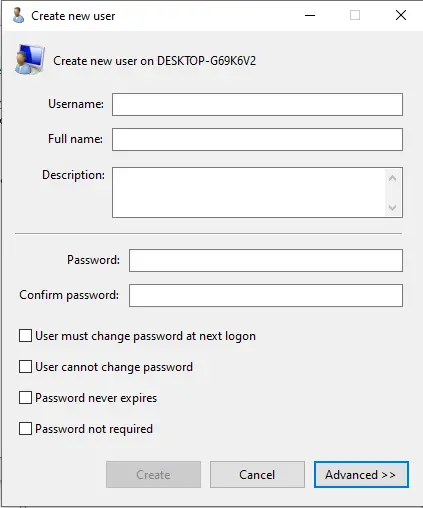
Step 5. The “Create new user” window will open. Fill in the details of a new user you want to create under Windows 11/10 and click the Create button.
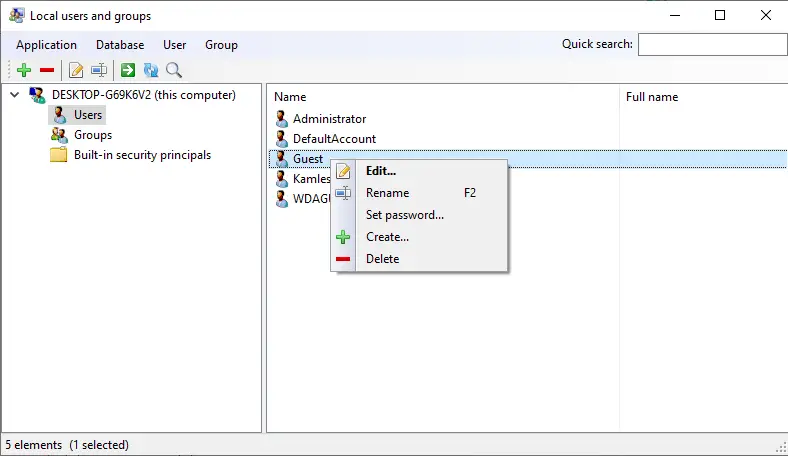
Step 6. To manage an account already created under your Windows 11/10, select and right-click on an account. You can rename, set a password, and delete or edit the account.
One of the interesting features of this tool is that it lets you connect to a remote computer if a remote computer allows the remote connection. To access it, right-click on the entry of your computer and select “Connect to computer.”

Conclusion
In conclusion, the Local User and Group Management (lusrmgr.msc) console is a useful tool for managing local users and groups on a Windows computer. Although it is not functional in Windows 11/10 Home Edition, a suitable substitute can be found by downloading the lusrmgr executable file from Github. This article provides step-by-step instructions on how to activate and operate the Local User and Group Management Console in Windows 11/10 Home, allowing users to create and manage users and groups, rename, set passwords, and delete or edit accounts. It is a valuable tool that can aid in efficiently managing user accounts on a Windows computer.
Also Read:
Thanks, it works fine, and solve the problem with 10 Home. You make my day. Cheers. Eugeni
You are welcome.